 English
 русский
 中文简体
中文简体


RILSON GASKET
Ningbo Rilson Sealing Material Co., Ltd is dedicated to ensuring the secure and dependable operation of fluid sealing systems, offering clients the appropriate sealing technology solutions.
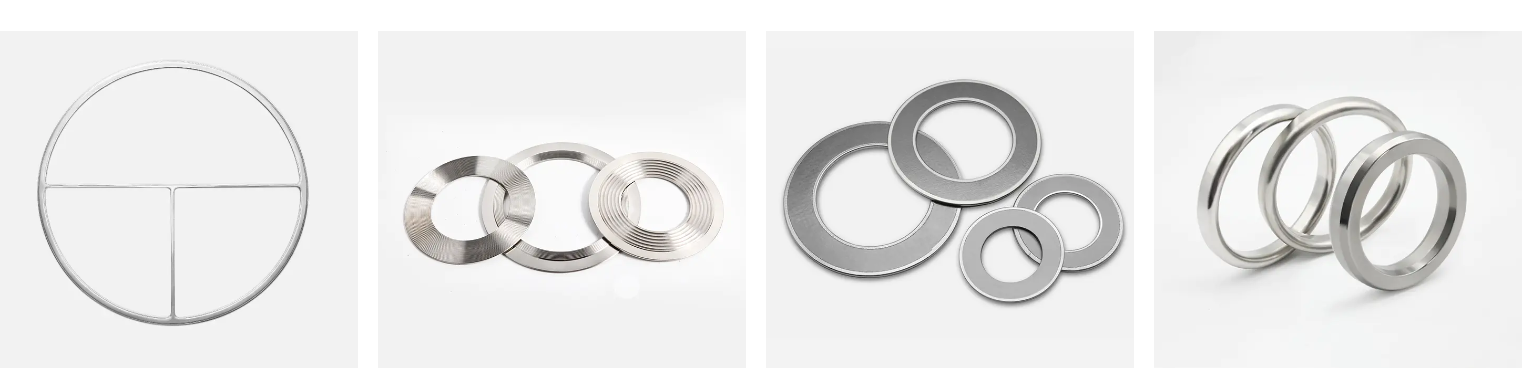
Heat exchanger gaskets are essential components widely used in various industries such as chemical, pharmaceutical, power generation, and air conditioning. They facilitate temperature control by transferring heat between fluids. The importance of gaskets as sealing components in the operation of heat exchangers is undeniable. Correct installation of heat exchanger gaskets not only ensures the sealing integrity of the equipment but also significantly improves the performance and lifespan of the heat exchanger. This article will provide detailed guidance on how to correctly install heat exchanger gaskets to ensure optimal sealing and thermal efficiency during operation.
1. Understanding the Function of Heat Exchanger Gaskets
The main function of heat exchanger gaskets is to provide an effective seal, preventing media leakage and ensuring smooth heat transfer within the heat exchanger. Gaskets also prevent mixing or cross-contamination between different media, which is crucial in industries such as chemical and pharmaceutical manufacturing, where preventing the leakage of hazardous substances is paramount.
Improper gasket installation can lead to media leakage, reduced heat exchange efficiency, equipment overheating, and even malfunctions. Therefore, ensuring correct gasket installation is fundamental to maintaining the proper functioning of the equipment.
2. Preparatory Work Before Installing Heat Exchanger Gaskets
Before correctly installing heat exchanger gaskets, thorough preparation is necessary, including the following aspects:
(1) Checking Gasket Material and Specifications
The material of the heat exchanger gasket should be selected based on the equipment's operating environment, media properties, temperature, and pressure conditions. Common heat exchanger gasket materials include rubber gaskets, metal gaskets, flexible graphite gaskets, and PTFE gaskets. When selecting a gasket, its applicable temperature, pressure, and chemical resistance should be confirmed. Only the appropriate material can ensure long-term stable operation of the gasket.
Furthermore, ensure that the gasket's size and specifications match the contact surface of the heat exchanger. Avoid using gaskets that do not meet the specifications, as this may lead to poor sealing and leakage.
(2) Cleaning the Contact Surface
Before installing the gasket, the contact surface of the heat exchanger must be clean. The contact surface should be free of oil, dust, corrosion, and any impurities that may affect the gasket's sealing performance. Cleaning methods may include using cleaning agents, brushes, or cloths, and using compressed air to dry if necessary. Any small impurities or dirt can affect the gasket's sealing performance, leading to leakage or damage.
(3) Check the flatness of the contact surface
The contact surface of the heat exchanger needs to be flat and smooth. If the contact surface has scratches, deformation, or corrosion, it may prevent the gasket from forming a good seal. If necessary, special tools can be used to grind or trim the contact surface to ensure its flatness.
(4) Select appropriate tools
When installing heat exchanger gaskets, some professional tools are needed, such as wrenches, bolts, and pressure testing tools. These tools help ensure that the gasket receives even pressure during installation and prevent over-compression or loosening.
3. Correct Installation Steps for Heat Exchanger Gaskets
The following are the standard steps for installing heat exchanger gaskets. Following these steps will ensure optimal gasket performance.
(1) Positioning the gasket
First, carefully place the gasket on the contact surface of the heat exchanger. Ensure that the gasket is perfectly aligned with the contact surface, avoiding any displacement or bending. For gaskets with directional requirements (such as metal gaskets with markings), be sure to ensure the correct orientation.
During placement, avoid directly touching the contact surface of the gasket with your hands, especially for easily contaminated materials such as flexible graphite and rubber gaskets. Use clean tools to assist in the operation to keep the gasket clean and intact.
(2) Installing and evenly tightening the bolts
After the gasket is in place, begin installing the bolts. The bolts should be installed starting from the diagonal of the heat exchanger and gradually tightened evenly. This is a crucial step to ensure even force distribution on the gasket and optimal sealing performance. Avoid tightening all bolts at once; instead, proceed gradually to ensure the gasket is evenly compressed.
The torque of each bolt should be tightened according to the specifications provided by the manufacturer. If there are no specific torque requirements, a torque wrench can be used to ensure appropriate tightening force. Over-tightening can cause gasket damage or deformation, while under-tightening may lead to poor sealing.
(4) Cross-tightening method
Using the cross-tightening method is a common way to ensure even installation and good sealing performance of heat exchanger gaskets. By gradually tightening the bolts in a cross pattern, the gasket receives even force. Typically, only a partial tightening is done in the first round, and full tightening is performed in the second round.
(5) Checking for leaks
After installation, checking for leaks is crucial. The sealing performance of the gasket can be tested using pneumatic pressure testing, hydraulic pressure testing, or gas leak detection instruments. By applying a certain pressure and observing for leaks, you can ensure that the gasket is installed correctly.
(6) Pre-operation Inspection
Before the heat exchanger starts operation, perform a final inspection. Check for loose bolts, ensure the gasket is properly aligned, and confirm there are no leaks or abnormalities. If necessary, retighten the bolts to ensure a proper seal.
4. Common Installation Errors and Solutions
Although gasket installation seems like a simple process, some common errors can still occur during actual operation. Here are some common errors and how to avoid them:
(1) Overtightening or Loosening
Overtightening or loosening the bolts can lead to gasket damage or poor sealing. Overtightening can cause the gasket to crack or lose elasticity, while loosening can lead to leaks. Therefore, tighten according to the specified torque requirements and apply even pressure to ensure the gasket is evenly stressed.
(2) Unclean Contact Surfaces
Dirty contact surfaces are a common cause of poor sealing. Any dust, oil, or impurities will affect the gasket's sealing performance, so it is essential to ensure that the contact surfaces are completely clean before installation.
(3) Using Mismatched Gaskets
Using mismatched gaskets (such as incorrect size or material unsuitable for the operating conditions) will lead to sealing failure. Therefore, choosing the appropriate gasket material and size is crucial. Select a suitable gasket based on the operating conditions (such as temperature, pressure, and medium) and ensure it matches the heat exchanger's contact surface.
(4) Ignoring Gasket Aging
Heat exchanger gaskets have a limited lifespan. Long-term exposure to high temperatures, high pressure, and corrosive chemical media can cause gasket aging and a decrease in sealing performance. Therefore, regularly inspect the gasket's condition and replace aged or damaged gaskets promptly to ensure the long-term stability of the equipment.
RILSON GASKET
Ningbo Rilson Sealing Material Co., Ltd is dedicated to ensuring the secure and dependable operation of fluid sealing systems, offering clients the appropriate sealing technology solutions.
Copyright © Ningbo Rilson Sealing Material Co., Ltd. All Rights Reserved.
